About a week ago, I was sitting in my room with my good friend Renee when I came up with the brilliant idea of re-painting a old make-up counter my mom gave to me years ago. We decided to do this at around 8:15, and realized at around 8:30 that we would need a stencil from Michael's to finish the project. We called up to the store, found out they close at nine, and pulled into the parking lot at 8:57 to get this beloved zebra-print stencil. I had on all my paint gear, and needless to say was not looking my finest. I would post the picture I have, but i'm afraid it would scare all of you away. :)
This project took A LOT longer than I intended for it to, and actually as i'm writing this post, about a week later, it's still not all put together. It took a lot of patience, and trial & error to finish. But i'm pretty proud of the results.
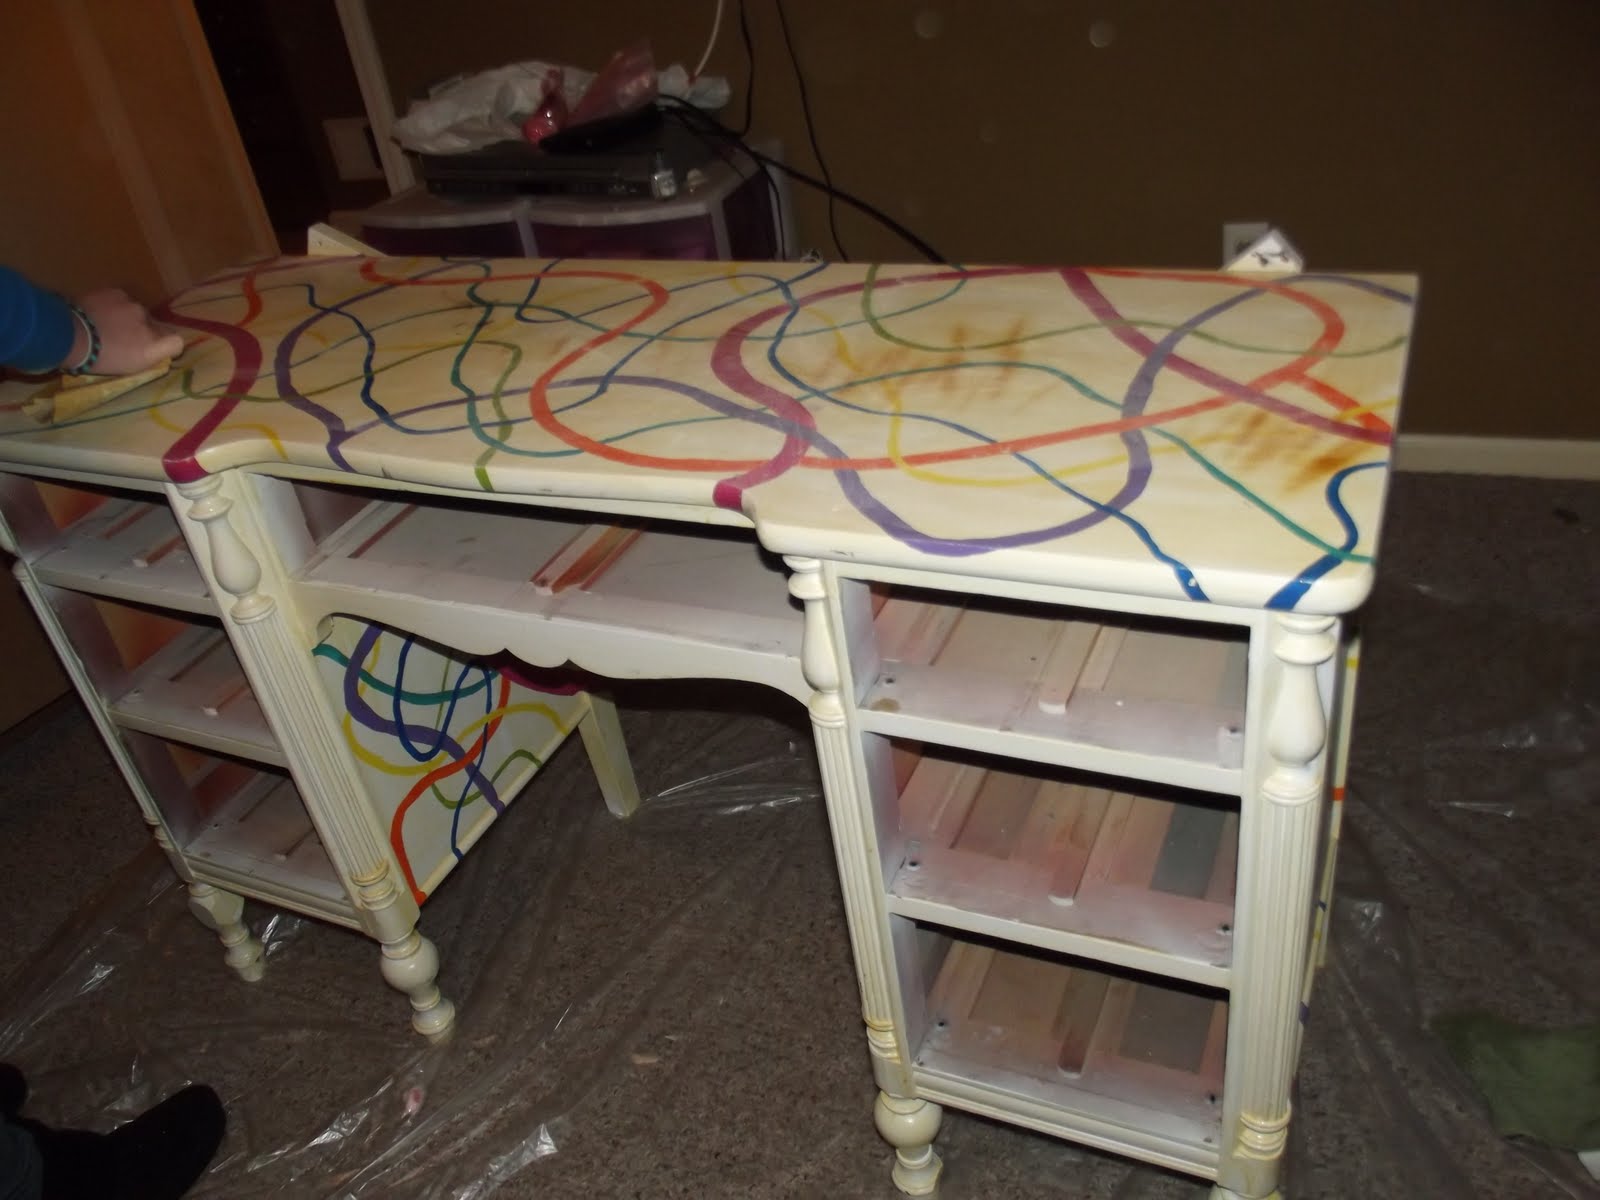
This is the most recent picture of the make-up counter I have, but will update once I have it all put together. (The only thing I have left to do is to put the knobs on the drawers)
The supplies I needed for this project were:
1) Different colors of paint. (I used some paint that we already had left over from painting my room, and the doors in our house)
2) Stencil from Michaels ($10)
3) Different sized brushes
4) Sandpaper
5) Plastic (to lay on the floor)
6) Spray Adhesive ($5)
7) Mod Podge
8) Screwdriver
9) Spray Paint(black)
10) Painter's Tape
We started out with the drawers, we sanded them down, and painted several layers of the pink paint over it to get the end results, and then let dry over-night.
Then we moved to the actual make-up counter, We started out by laying a huge piece of plastic on the ground because I am really messy at painting, and then sanded the whole thing down.
After we sanded we started with the first layer of white, and because of the previous painting and the random stripes it had, this thing took a ton of paint to cover all of it up. So, fast forward a couple hours, and you get this:
After letting that dry, we started with the pink accent's. I decided I wanted to do the outer decorations, and the inside of the desk itself. It ended up being a lot harder than I anticipated it being, especially using a big brush, so we ended up using a old nail polish brush, which actually got the job done.
The next morning, I started with the stencil, which I decided only to put on top of the counter. I used a spray adhesive to one side of the stencil to make it easier to use.
It took awhile to get all of the stencil-ing done, because I had to wait for it to dry before moving the stencil, otherwise the black paint would get everywhere. But, eventually it turned out really good!
Once that was dry I started on the mirror. I used painter's tape to protect the mirror, sanded down the old paint, and then painted it all pink.
Then I took mod podge (found at any craft store) and covered the entire thing with it, that way it seals in the paint and prevents it from flaking off.
The last part of the project was spray painting the old knobs we had on the drawers black to match. They are currently in my basement drying, and will post a final picture once they are back on the drawers, and the whole thing is put back together.
All together this took probably ten hours. A long time.
But, I think it was worth it. And thank's to my mom and her handy mini craft store in our basement, this project only cost me ten dollars total to complete. Now that school it back in session, I don't know how many project's like this i'll be able to do, but I do have a desk in my room that's calling my name :)
Thank's for reading!


LOVE this! too cute :-)
ReplyDelete