Showing posts with label Pink. Show all posts

Wednesday, February 15, 2012

Since I haven't done a post in awhile about crafts, I thought i'd update on the crafts i'm currently working on/ have already completed before I started the blog.  The first on is my plaque's. My Aunt Lindsay has the crafter's heaven of a basement. She has a room that is basically a mini Michaels/Joann's/Hobby Lobby, and always encourages us to use whatever, whenever. So one day I while lounging around their house I saw my cousin Hailey creating these cute little plaque's for her apartment. I then decided to do some for myself, and I love them!


How were they made?

We bought the canvas's on sale from hobby lobby for around seven dollars. When we got home, I painted the canvas with their first coat of pink paint, and while that was drying I painted the letter's black. The letters are made out of chip-board, and can be found at any Michael's/Hobby Lobby store. They usually come in a ton of different shapes and sizes (as you can see from the pictures) and some times they are fun to mix and match. 

After painting the letters, I applied a few more coats of pink paint to the canvas, and after it dried, I added a layer of pearl effect paint, Which is why in the close up pictures they look so shiny. After that, I used a machine called a cricut to make the white designs in the back of the letters. 

(The lovely little cricut machine) 

I mod-podged those on to the canvas's, and let dry. Then I used some craft glue to put the letters on the canvas's, and used craft glue to attach all the embellishments too. I think they turned out pretty cute, and They were really easy to put together! 


Another little project I completed at my Aunt Lindsay's was this little masterpiece:


These were really easy to do too, and pretty cheap! We went to Michael's and found the letters for my name, and bought some zebra print wrapping paper. (I would definitely suggest getting tissue paper over wrapping paper though, it's a lot easier to wrap around the letters) 

I put Mod Podge on the front of the letters, and put it on a little square of wrapping paper, then took more mod podge, and drenched the wrapping paper in it so that it would go around the letters, and let dry. 

The only other thing we did was add glitter to some letters, and ribbon with flowers to the others. 


-Hillary <3


Monday, January 9, 2012

The project that lasted a lifetime.

About a week ago, I was sitting in my room with my good friend Renee when I came up with the brilliant idea of re-painting a old make-up counter my mom gave to me years ago. We decided to do this at around 8:15, and realized at around 8:30 that we would need a stencil from Michael's to finish the project. We called up to the store, found out they close at nine, and pulled into the parking lot at 8:57 to get this beloved zebra-print stencil. I had on all my paint gear, and needless to say was not looking my finest. I would post the picture I have, but i'm afraid it would scare all of you away. :)


 This project took A LOT longer than I intended for it to, and actually as i'm writing this post, about a week later, it's still not all put together. It took a lot of patience, and trial & error to finish. But i'm pretty proud of the results. This is the most recent picture of the make-up counter I have, but will update once I have it all put together. (The only thing I have left to do is to put the knobs on the drawers)


The supplies I needed for this project were:

 1) Different colors of paint. (I used some paint that we already had left over from painting my room, and the doors in our house)
 2) Stencil from Michaels ($10)
 3) Different sized brushes
 4) Sandpaper
 5) Plastic (to lay on the floor)
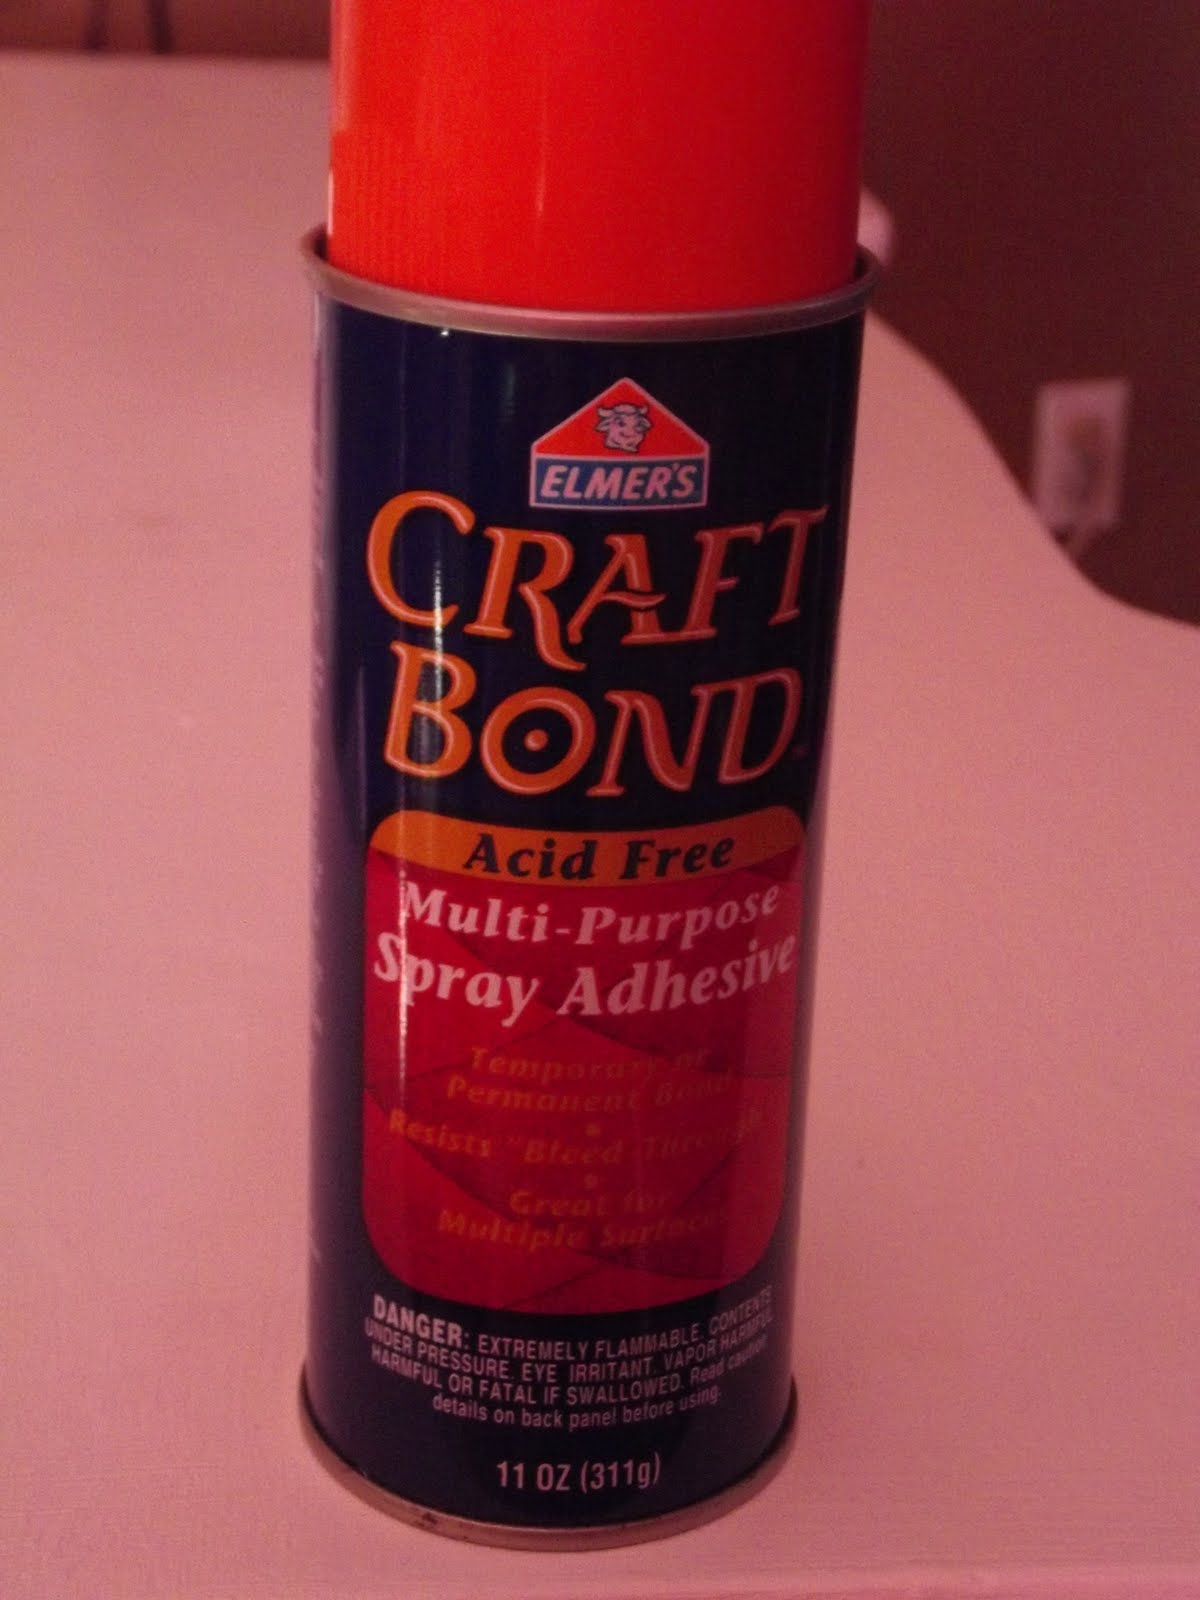
 6) Spray Adhesive ($5)
 7) Mod Podge
 8) Screwdriver
 9) Spray Paint(black)
 10) Painter's Tape


 We started out with the drawers, we sanded them down, and painted several layers of the pink paint over it to get the end results, and then let dry over-night.


Then we moved to the actual make-up counter, We started out by laying a huge piece of plastic on the ground because I am really messy at painting, and then sanded the whole thing down.


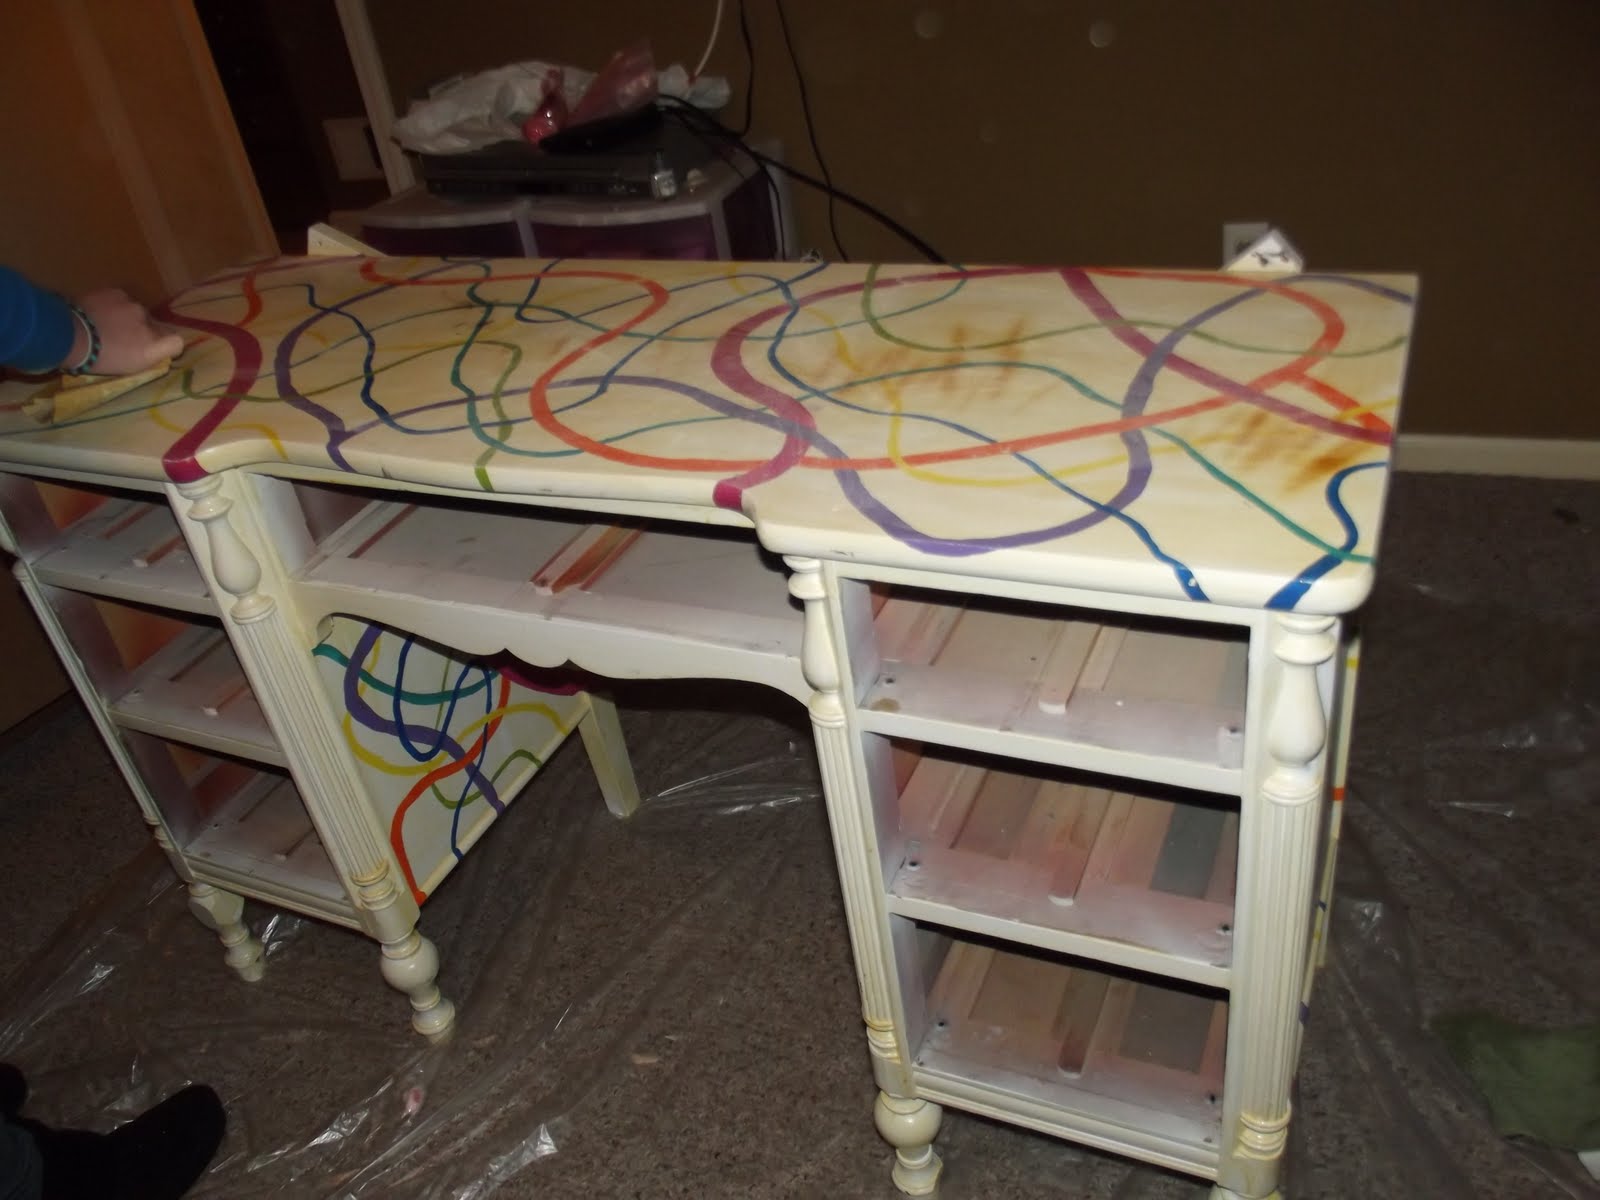
After we sanded we started with the first layer of white, and because of the previous painting and the random stripes it had, this thing took a ton of paint to cover all of it up. So, fast forward a couple hours, and you get this:


After letting that dry, we started with the pink accent's. I decided I wanted to do the outer decorations, and the inside of the desk itself. It ended up being a lot harder than I anticipated it being, especially using a big brush, so we ended up using a old nail polish brush, which actually got the job done.


The next morning, I started with the stencil, which I decided only to put on top of the counter. I used a spray adhesive to one side of the stencil to make it easier to use.


It took awhile to get all of the stencil-ing done, because I had to wait for it to dry before moving the stencil, otherwise the black paint would get everywhere. But, eventually it turned out really good!


Once that was dry I started on the mirror. I used painter's tape to protect the mirror, sanded down the old paint, and then painted it all pink. Then I took mod podge (found at any craft store) and covered the entire thing with it, that way it seals in the paint and prevents it from flaking off.


The last part of the project was spray painting the old knobs we had on the drawers black to match. They are currently in my basement drying, and will post a final picture once they are back on the drawers, and the whole thing is put back together.


 All together this took probably ten hours. A long time. But, I think it was worth it. And thank's to my mom and her handy mini craft store in our basement, this project only cost me ten dollars total to complete. Now that school it back in session, I don't know how many project's like this i'll be able to do, but I do have a desk in my room that's calling my name :)


 Thank's for reading!

Wednesday, January 4, 2012

My new blog!

I've tried to keep blogs in the past, but they never turn into anything I would show anyone. But this time, with the inspiration from some friends, i've decided to blog about my little creations I find myself making whenever I get bored. Also, about basically anything that interests me. I have been really productive with the crafts lately, So i'll start with some of those :)

The first is a chalkboard table.


The nice thing about my random projects that I take on is that my mom has collected a mini Michael's store in our basement, so I don't have to spend much on supplies for my projects. I did this table completely for free just with products I found around the house.


The supplies I needed for this project were:

End tables (found at walmart)
Different color's of paint
A pencil
Paint Brushes
Chalkboard Paint
Sandpaper


First, I started out by sanding down the old table, and then wiping it with a damp cloth to get off all the dust.


(Sorry for the gross top of this table, as you can see it REALLY needed to be painted.)


Next, I painted the top surface with the chalkboard paint. It only took one layer of the paint to cover it.


Then my friend Renee helped me paint the legs of the table pink, after it dried we decided to add polka dots with white paint, which I used the eraser of a pencil to make.


We let it dry overnight, and then it was done! Super easy, and very cheap to do. The chalkboard paint really works too!


I think I've definitely started a trend with myself for painting furniture I just have laying around! In total it took around a half hour from start to finish to complete one table. I'll post more on painted furniture once I finish the projects I started but haven't completed yet! :)